
It seems that every holiday season I create a new wreath. But I think that this may be my favorite yet!
It’s been a long time coming.
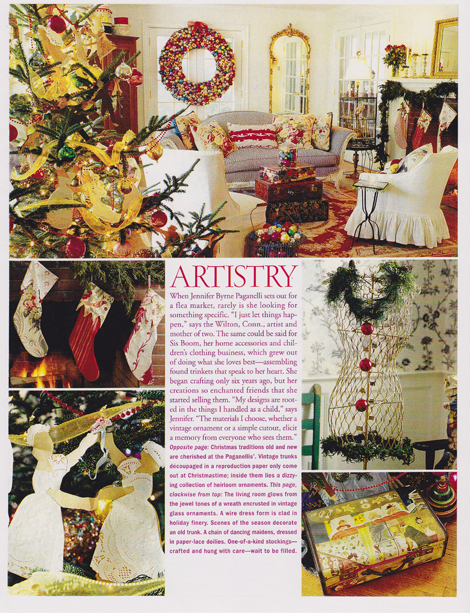
I can remember the exact moment I spied a vintage ornament wreath. It was way back in 2001 ~ nestled within the pages of Country Living’s December issue. It’s creator was Jennifer Paginelli of Sis Boom fame. I was completely and utterly captivated.
Better late than never! Eleven years later I completed my own (slightly smaller) vintage ornament wreath.
My dear friend Meri hosted a workshop in November on how to make the wreaths and I knew this was just the ticket to get me motivated. She provided a great tutorial HERE.
(If you ever get invited to her studio, GO! :)
You will need one styrofoam wreath. The size is up to you.
A very hot glue gun and PLENTY of glue sticks.
Then of course there are the ornaments. For the 7” wreath I used well over 100 small, medium and large vintage ornaments.
If you don’t happen to have a large collection of vintage ornaments you can also use new ornaments. These sparkly gems were from the dollar store.
You need a way to hang your wreath. I began by looping satin ribbon.
Tie on a key ring.
Lay your styrofoam wreath on a flat surface and position where the first ornament will go. Create a hole with the hot tip of your glue gun. (Use just the tip, do not fill the space with glue.)
It will sound like popcorn popping as you burn an ever enlarging area.
Then add a bit of hot glue to the ornament top and position in the hole.
Be forewarned, if you try to push or shove your ornament in, it will shatter. It took me a few lessons before I learned this. :)
Lather, rinse, repeat.
On the second layer position the ornament in the middle of two ornaments on the first level.
Keep filling in the wreath with ornaments. I was so glad I was at Meri’s house and there was a delicious lunch break. You will need SEVERAL hours to complete the wreath. Particularly if you are a chatterbox. Once the larger ornaments are in place you will fill the empty areas with small and extra small ornaments.
Here was my wreath when I left Meri’s.

This was Gail’s finished wreath of dollar store ornies. Stunning!
I just had to include Sandy’s darling wreath for cousin sweet T. She has had the exact same Santa on her Christmas tree every year since she was born. We have a family joke about this ole St. Nick and I know this will make her smile.
Once I got home I tried out my wreath in a variety of areas and it just didn’t look right. It was too small.
Cruising Michael’s with a 50 % off coupon I had an “Ah ha!” moment.
I removed the white satin ribbon from the wreath and then carefully threaded florist wire under the wreath weaving through the ornaments.
Then I secured the wire to the flocked white wreath and twisted the wire several times so it would be secure.
I then hung it up and stood back.
It was as if a chorus of angels began to sing the Carpenter’s “Close To You”.
“On the day that you were born the angels got together
And decided to create a dream come true
So they sprinkled moon dust on your ornies
And golden starlight on your bulbs of blue.”
This post is dedicated to my mother, Nadine, on her birthday. You are missed ever more with each passing year.
Have you shared some sparkle today?
Laura
Linking to:
The Charm of Home, Common Ground, StoneGable, Today’s Creative Blog, Someday Crafts, SSS, Shabby Nest, Tatertots and Jello, Positively Splendid,The 36th Avenue, Jennifer Rizzo, Kelly’s Korner
Labels: Decor and Holiday, Feeling crafty


